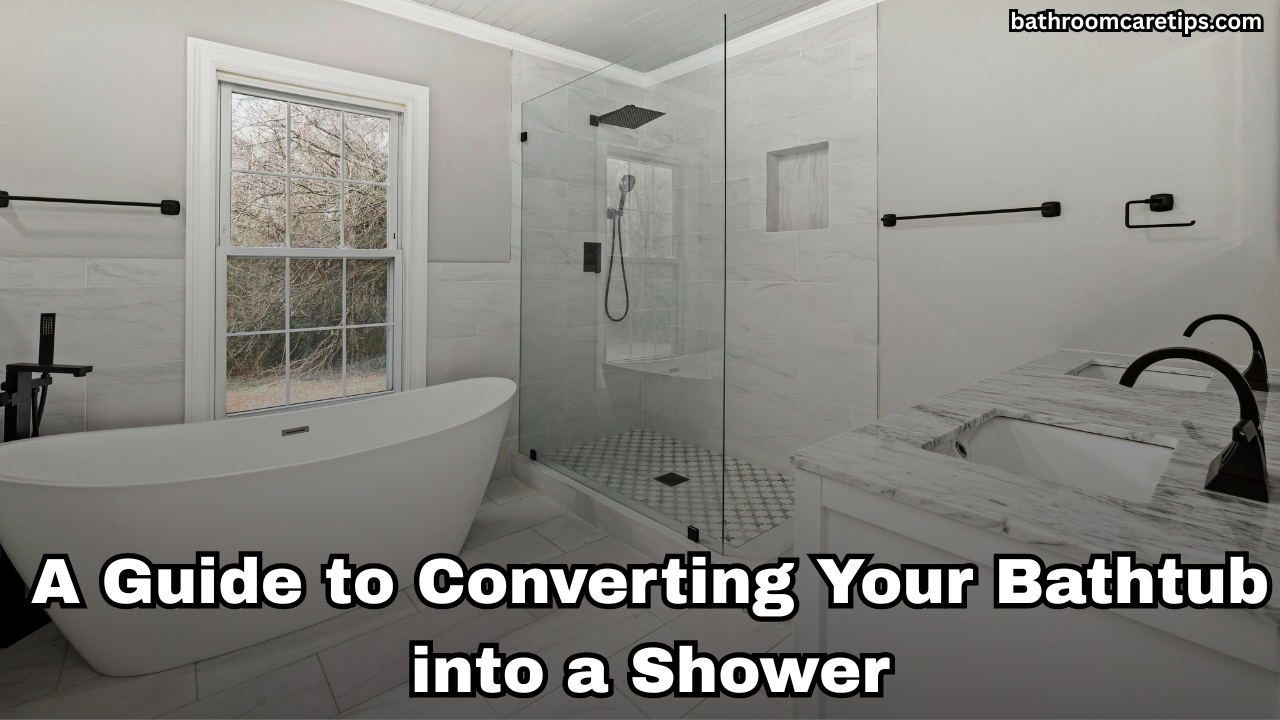
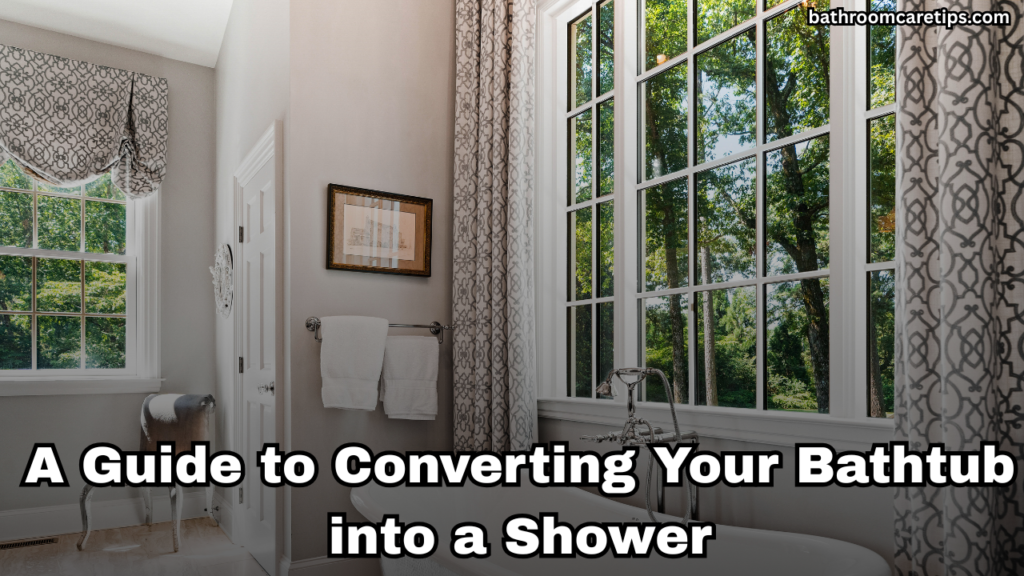
Need a guide to converting your bathtub into a shower? bathroomcaretips.com offers a step-by-step plan to transform your bathroom in 2025, saving space and boosting functionality. Follow our detailed process for a sleek, modern shower, perfect for tech-savvy DIYers or homeowners!
Why Convert Your Bathtub to a Shower?
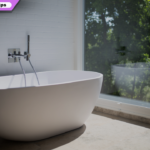
Converting a bathtub to a shower maximizes space, improves accessibility, and modernizes your bathroom. Showers use less water (2–5 gallons/min vs. 30–80 gallons/bath), saving on utility bills. Ideal for small bathrooms or aging-in-place upgrades, this project enhances value, especially for tech-forward homes in 2025. Check More Here:- 220+ Essential Bathtub Safety Tips for a Secure Bathing Experience
Assessing Your Bathroom
Before starting, evaluate your bathroom’s layout, plumbing, and size. Measure the tub area (standard is 60”x30”) and check for existing shower plumbing. Ensure the floor can support a shower base and verify wall conditions for waterproofing. Consult a professional if structural changes are needed.
DIY vs. Professional Conversion
DIY conversions save money ($1,000–$3,000) but require plumbing and tiling skills. Professionals cost more ($3,000–$10,000) but ensure code compliance and quality. Tech-savvy DIYers with basic tools can manage, but complex plumbing or permits may warrant hiring a contractor.
Planning and Permits
Check local building codes for shower installations, as permits are often required for plumbing or electrical changes. Plan your shower design: walk-in, curbed, or glass-enclosed. Purchase a pre-fab shower base or tile kit for easier installation. Budget for tools, materials, and potential surprises like mold.
Tools and Materials Table
| Item | Purpose | Approx. Cost |
|---|---|---|
| Shower Base | Replaces tub; supports drainage | $200–$800 |
| Shower Valve | Controls water flow/temperature | $100–$300 |
| Showerhead | Delivers water; handheld or fixed | $20–$150 |
| Waterproof Membrane | Prevents leaks behind tiles | $50–$150 |
| Tiles | Covers walls/floor; ceramic or porcelain | $100–$500 |
| Grout/Sealant | Seals tile gaps; waterproofs | $20–$50 |
| Pry Bar | Removes tub | $10–$30 |
| Tile Saw | Cuts tiles for precise fit | $50–$200 (rental) |
| Pipe Wrench | Adjusts plumbing | $15–$40 |
| Safety Gear | Gloves, goggles for protection | $20–$50 |
10 Steps to Convert Your Bathtub to a Shower
1. Turn Off Water and Power
Description: Ensure safety by shutting off the water supply (main valve or bathroom shut-off) and electricity to the bathroom to avoid shocks during plumbing or wiring work.
Process: Locate the main water valve (usually near the water meter) and turn it off. Switch off the bathroom’s circuit breaker. Test faucets to confirm no water flow. Wear safety gear (gloves, goggles).
Tools/Materials: None; use existing valves and breaker panel.
Tip: Label shut-off points for future reference.
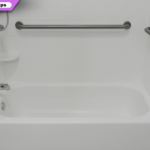
2. Remove the Bathtub
Description: Dismantle and remove the tub to clear space for the shower base.
Process: Remove the faucet and drain cover using a screwdriver. Pry off surrounding tiles or panels with a pry bar. Cut caulk along tub edges with a utility knife. Lift or break the tub (cast iron may need a sledgehammer); remove in pieces. Dispose via waste services. Takes 2–4 hours.
Tools/Materials: Pry bar, screwdriver, utility knife, sledgehammer (if needed).
Tip: Protect floors with drop cloths to avoid scratches.
3. Inspect and Repair the Subfloor
Description: Check the exposed subfloor for water damage or rot, ensuring a stable base for the shower.
Process: Remove debris; inspect wood for mold or soft spots. Replace damaged plywood with new sheets (¾-inch thick) using a circular saw and screws. Apply a leveling compound if uneven. Seal with waterproof primer. Takes 1–2 hours.
Tools/Materials: Circular saw, screws, plywood, leveling compound, waterproof primer.
Tip: Hire a contractor if extensive damage is found.
4. Adjust Plumbing
Description: Modify existing plumbing to fit the shower valve and drain.
Process: Locate the tub’s drain and water lines. Install a new shower valve (1.5–3 feet above floor) using a pipe wrench; connect to existing hot/cold lines with copper or PEX pipes. Relocate the drain to match the shower base, cutting pipes with a hacksaw if needed. Test for leaks. Takes 3–5 hours.
Tools/Materials: Pipe wrench, hacksaw, shower valve, PEX/copper pipes, fittings.
Tip: Consult a plumber for complex rerouting.
5. Install the Shower Base
Description: Set up a pre-fab shower base to replace the tub and ensure proper drainage.
Process: Dry-fit the base to check alignment with the drain. Apply mortar mix to the subfloor for stability. Place the base, connecting the drain to plumbing with PVC fittings. Secure with screws; seal edges with silicone caulk. Let set for 24 hours. Takes 1–2 hours.
Tools/Materials: Shower base, mortar mix, PVC fittings, silicone caulk, screws.
Tip: Choose a low-threshold base for accessibility.
6. Apply Waterproofing
Description: Install a waterproof membrane to prevent leaks behind tiles.
Process: Roll out a liquid or sheet membrane (e.g., RedGard, Schluter-Kerdi) over walls and floor, cutting to fit with a utility knife. Apply with a roller or trowel, overlapping seams by 2 inches. Cover drain and valve areas; let cure for 24 hours. Takes 2–3 hours.
Tools/Materials: Waterproof membrane, roller/trowel, utility knife.
Tip: Ensure complete coverage to avoid water damage.
7. Tile the Walls and Floor
Description: Install tiles for a durable, stylish shower surface.
Process: Measure walls and floor; cut tiles with a tile saw for edges or fixtures. Apply thin-set mortar with a notched trowel; set tiles, using spacers for even gaps. Start at the bottom, working up. Let set for 24 hours. Takes 6–8 hours.
Tools/Materials: Ceramic/porcelain tiles, tile saw, thin-set mortar, spacers, trowel.
Tip: Choose non-slip floor tiles for safety.
8. Grout and Seal
Description: Fill tile gaps with grout and seal for waterproofing.
Process: Mix grout per instructions; apply with a rubber float, pressing into gaps. Wipe excess with a damp sponge after 15 min. Let cure for 24 hours. Apply grout sealer with a brush; reapply yearly. Takes 2–3 hours.
Tools/Materials: Grout, rubber float, sponge, grout sealer, brush.
Tip: Use sanded grout for wider gaps (>1/8 inch).
9. Install Shower Fixtures
Description: Add the shower valve, showerhead, and optional handheld sprayer.
Process: Attach the shower valve to plumbing, securing with fittings. Install the showerhead (fixed or handheld) per manufacturer instructions, using plumber’s tape on threads. Test water flow and temperature; check for leaks. Takes 1–2 hours.
Tools/Materials: Shower valve, showerhead, plumber’s tape, fittings.
Tip: Choose a water-efficient showerhead (1.5–2.5 GPM).
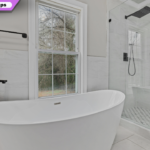
10. Add Finishing Touches
Description: Install glass doors or a curtain and clean up for a polished look.
Process: Mount a glass enclosure or curtain rod per instructions, ensuring a tight seal. Caulk around edges for waterproofing. Clean tiles with a mild cleaner; polish fixtures. Inspect for leaks or loose tiles. Takes 2–3 hours.
Tools/Materials: Glass door/curtain rod, caulk, cleaner.
Tip: Opt for frameless glass for a modern aesthetic.
Cost Estimates Table
| Component | DIY Cost | Professional Cost | Notes |
|---|---|---|---|
| Shower Base | $200–$800 | $300–$1,000 | Pre-fab vs. custom |
| Tiles/Materials | $200–$700 | $500–$2,000 | Ceramic vs. porcelain |
| Plumbing/Fixtures | $150–$500 | $500–$1,500 | Valve, showerhead |
| Tools | $100–$300 | Included | Rentals or purchases |
| Labor | $0 | $1,000–$5,000 | Varies by region |
| Total | $650–$2,300 | $2,300–$9,500 | Excludes permits ($50–$500) |
Tips for a Successful Conversion
- Plan Thoroughly: Sketch your shower layout and double-check measurements to avoid errors.
- Check Codes: Verify local permit requirements to ensure compliance and avoid fines.
- Invest in Quality: Use durable materials (e.g., porcelain tiles) for longevity.
- Test Plumbing: Run water tests at each stage to catch leaks early.
- Hire Help When Needed: Call a plumber or contractor for complex tasks like structural repairs.
Conclusion
This guide to converting your bathtub into a shower equips you to transform your bathroom in 2025, creating a functional, stylish space. Whether DIY or professional, these 10 steps ensure a seamless process for tech-savvy homeowners. Start your project.
Frequently Asked Questions (FAQs)
1. Can I convert my bathtub to a shower myself?
Yes, with plumbing and tiling skills, DIY is possible ($650–$2,300); otherwise, hire a professional ($2,300–$9,500).
2. How long does a bathtub-to-shower conversion take?
DIY takes 3–7 days; professionals complete it in 1–3 days, depending on complexity.
3. Do I need a permit for the conversion?
Most areas require permits for plumbing or electrical changes; check local building codes.
4. What’s the best shower base for a conversion?
Pre-fab acrylic or fiberglass bases ($200–$800) are easiest; custom tiled bases are pricier.
5. How do I prevent leaks in my new shower?
Use a waterproof membrane, quality grout, and sealant; test plumbing at each stage.